Posted in Food, Homemaking, Recipes

National Biscuit Month, 15-SECOND Biscuit Recipe!


National Biscuit Month, September

My family loves hot, homemade biscuits, and this is National Biscuit Month.

So, I thought I’d resurrect an old favorite recipe, just for you!

Although I’ve known the recipe handed down to me from my families, I’ve also never been satisfied just to do what everyone else is doing. I’m always thinking it might be even better if…

So one day I tried substituting real butter in the recipe I’d inherited, to replace the shortening. Oh, MY, did I notice a big difference, right away!

One thing led to another and I tried upping the fat content. Instead of the recommended 1/3 cup of fat, I tried a whole STICK of butter. Oh, MY, did I notice a big difference right away!

But then. Oh, then, I found a recipe for cream biscuits.

Phoo, those things are almost ALL fat, did you realize? Mmmm. No one can eat just one.

Several tweaks later, I invented the 15-Second Biscuit Recipe.

Yep.

If I hurry, I can make biscuit dough in 15 seconds, and so can you. Here’s how:

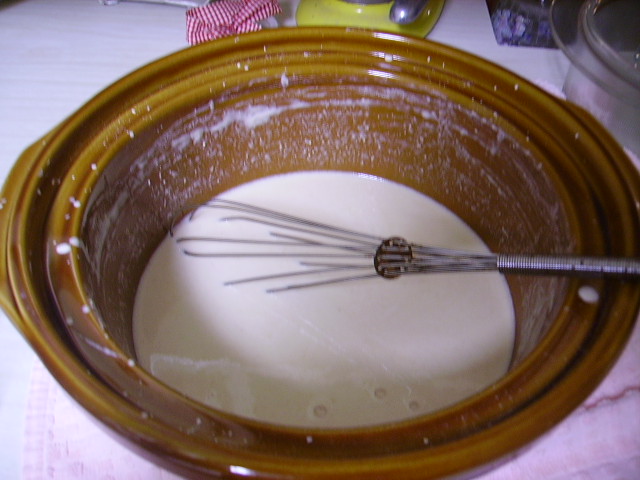
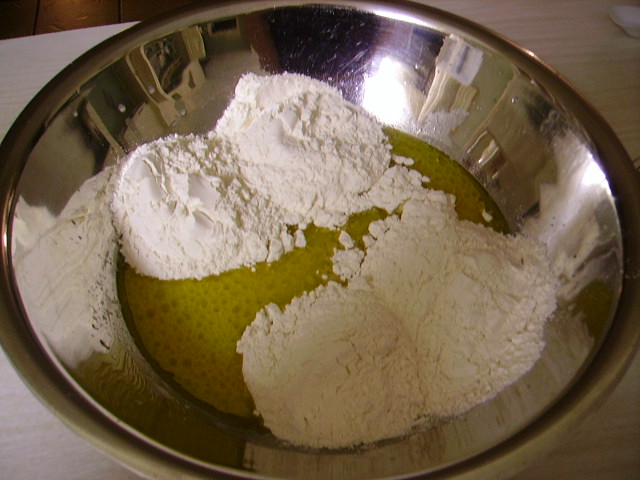
  1. Combine equal portions of self-rising flour and heavy (or whipping) cream.
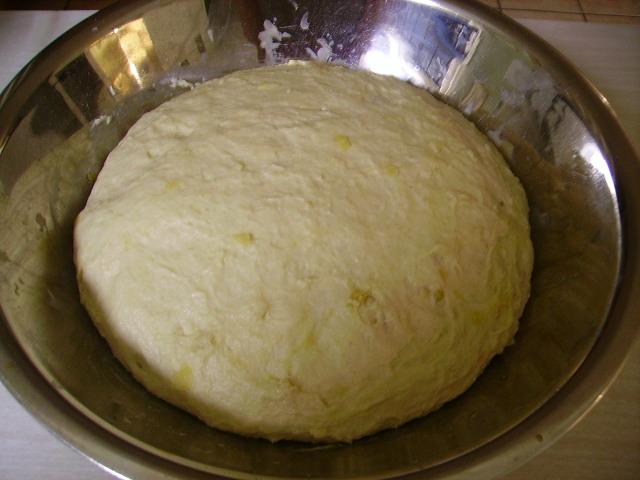
  2. Stir very quickly with a fork.
  3. Done.

Now. You must realize the benefits of this recipe that go beyond the race with the clock:

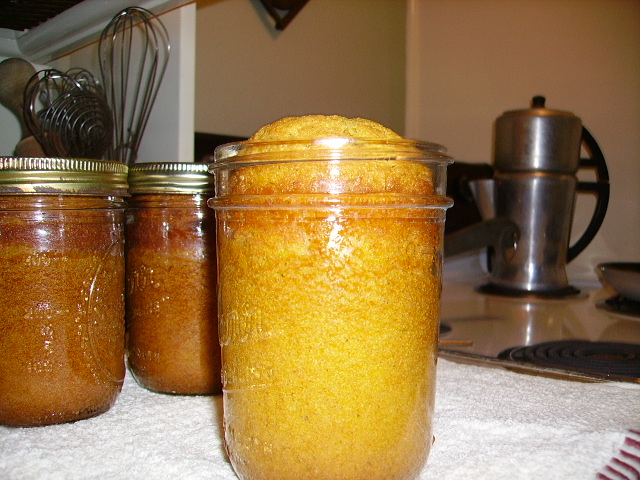
  1. These biscuits are almost like cake, but without the sweetness.
  2. You won’t believe how tall and tender they turn out.
  3. If you want, you can make only one biscuit. Just use 1/4 cup, each, flour and cream.

If you prefer whole wheat biscuits, as I do, you can easily create your own whole-wheat, self-rising flour.

Enjoy!

And share with us your favorite type of gravy for these golden orbs!

What’s THAT stuff?!

Calamari = squid.

Squid served at a restaurant

The body can be stuffed whole, cut into flat pieces or sliced into rings. The arms, tentacles and ink are edible; the only parts of the squid that are not eaten are its beak and gladius (cartilage). I’ve seen it battered and fried like onion rings. It’s supposed to taste sweet.

I’ve eaten rabbit before, and it is sweet, so squids and rodents taste similar?

Groans.

You can hardly find a stuffed mushroom in a restaurant, anymore, except those with squid squirted into them. That’s just wrong.

Canterbury Hill
Canterbury Hill

However, there was a time when my brother took us all out to eat al fresco, on a breezy summer’s eve, to a lovely place near his home just outside Jeff City, Missouri. We ordered the stuffed mushrooms as an appetizer and I became so enamored with this dish.

They were creamy and savory and warm and I’d never eaten anything I liked so much that wasn’t sweet.*

I mean, I wanted to eat everyone’s serving.

I mean, I had to remind myself to behave.

However, there on a flagstone patio, noshing over a wrought iron table, I began analyzing.

And I never stopped until last year, when I figured I knew how to make those mushrooms.

And today, I publish my recipe for the first time, ever, over at Dining with Debbie.

Go there.

You’ll be glad.


* And it’s NOT squid!
Posted in Food, Funny, Recipes

I got mad at Betty.

I’ve been baking furiously, here, trying to get a cake for 60 or so people ready for this coming Sunday, when our church will host a baccalaureate for our seniors.

I am used to baking and decorating larger cakes, have done several for various showers and weddings. I love doing it.

However, cakes have a way of failing when you are making them for a special event. I’ve had many mix cakes fall, and occasionally, a scratch cake will fall for me.

This time around, I chose to use a mix because I have the following activities in my life the same weekend:

  • Helping host the Arkansas Home School 2014 Graduation in Searcy
  • Helping a newly widowed woman move into town
  • Preparing and printing the brochures for our baccalaureate
  • A camp rally at our church’s camp near Mena
  • Cleaning and decorating our church for the baccalaureate

So, you can see, I really did not have time to make scratch cakes and although I never prefer it, I bought mixes and hoped and prayed they’d turn out.

Well, they did not fall.

But when I attempted to turn the first one out onto a rack to finish cooling, it stuck.

It was firmly IN the pan, so firmly it left parts of itself behind and nearly broke in two as I wrestled with it.

As I complained about how they just don’t make cake mixes like they used to, I sort of pieced it together and started on the next cake, determined to really slather the pan with oil and flour, so this one would not stick.

I reached for the other pan and, lo! it was already oiled.

It was the pan I’d prepared for the first cake, but I’d inadvertently poured the first batter into an unprepared pan.

I said a lot of mean things about you, Betty, and I apologize.

It was all my fault.

😉

____________

UPDATE!

The final product, I am so glad to say. Doing this was like watching a scary movie! Seven pounds just in the frosting. Aren’t we amazing!

Betty and I
Betty and I
Enhanced by Zemanta
Posted in 'Tis the Season, Food, Recipes, Winter

Global Warming! Coming soon to a kitchen near you!

Nothing warms a home like something baking.

It’s cold outside where you live.

Everyone should get busy!

Doesn’t matter if it’s a delicious batch of sour dough bread:

Been baking!
Been baking!

Doesn’t matter if it’s a few jars of wonderful canned bread:

Been baking
Been baking

Doesn’t matter if it’s a wonderful, lo-carb cookie recipe!

We all need to warm up our Monday!

BAKE!

Posted in Food, Herbs, Recipes

In case you need another cookie recipe…

…Lavender Sugar Cookies to the rescue!

Lavender Sugar Cookies

And here is the recipe:

1 lb butter, softened
1 c. sugar
1 c. powdered sugar

Blend above, well.

2 eggs
1 tsp. vanilla

Blend in well.

4 1/2 c. flour
2 Tbsp. pulverized, food-grade lavender blossoms
1 tsp. baking soda
1 tsp cream of tartar

Sift above and mix in, well. Drop by teaspooon onto ungreased baking sheets. Flatten with glass dipped into sugar.

Bake at 375 degrees for 10 to 12 minutes. Mmm!


Posted in Food, Homemaking, Recipes

As Promised: Sour Dough Bread

My facebook friends have asked me how I do this, so here goes!

What I love about this bread recipe is that the steps are spread over two days, leaving me time to do many other things, such as laundry or shopping, between steps. It’s just more convenient for the way I live and operate. It’s also very forgiving; I once fell asleep while it was rising and it did not run everywhere, but just kept rising slowly. I guess for my slow ways, it’s just my type. Enjoy!

Sour Dough Starter
Sour Dough Starter. See how high it foamed in bowl!

First the sour dough starter:

3 cups all-purpose flour
3 cups water
1 pkg. dry, active yeast

Stir together with wire whip in a non-reactive container large enough to allow for foaming, and allow to sit at room temperature, lightly covered, stirring occasionally, for 2 days. It should smell a bit like beer and double in size before receding. This will make several loaves.

Now, the bread:

On the evening of the third day, in a very large bowl, blend well:

1/2 cup sugar

1/2 cup oil (I use good quality olive oil)
1 1/2 cups warm water
1 cup starter
1 tbsp. salt

Bread Dough
Bread Dough, minus two cups of flour

To this mixture add 6 cups bread flour and stir until it can be kneaded. Knead slightly to make a ball. Cover bowl lightly. (I use a pizza pan.)

Bread, ready to rise, at night

If you plan to use your starter again the next day, feed* and cover it and leave it out. If not, place it, covered, in refrigerator; feed it and bring it to room temperature before the night you are ready to use it.

Bread dough, double sized, in morning.

In the morning, punch down dough, knead lightly, and form two loaves in greased bread pans.

Loaves ready to rise in cold oven, over pan of hot water.

Place in oven on top rack with a 9″x13″ pan of hot water on bottom rack. Close oven. Do not turn oven on. Leave in oven until doubled in size, which may take half a day, but watch it…

Bread baking.
Bread, doubled in size, baking.

Once bread has doubled in size, remove all pans from oven and preheat to 350 degrees. Then bake the bread for 30 to 35 minutes.

Bread after 35 minutes

This bread is so good, my sons used to take it with them to college, etc. It really doesn’t need butter or jelly, although my husband and I once ate a whole stick of butter spread on this bread, in one sitting. And we only walked away from it, then, because we knew we must. I could eat this all day and all night.

When you make this, let us know how it turns out!

*To feed the starter, mix together 1 cup flour and 1 cup water, and stir into starter.


Posted in Homemaking, Recipes

A New Thanksgiving RECIPE!

Well, actually, I’ve hoarded this one for ages, but have finally decided to share it with my friends.

It’s a totally adaptable pumpkin cake, one you can make to suit yourself.

And it’s delicious.

And it’s easy.

And it’s lo-cal. (NOT!)

Here it is:

Pumpkin Upside-Down Cake

Prepare pan, first:

1 stick melted butter (not margarine)
1 cup brown sugar

Mix together and spread over bottom of 9″x13″ pan.  If desired, add over that:

1 cup pecan halves
OR
Pineapple rings and maraschino cherries and nuts, as for pineapple upside-down cake

Set aside while making batter.

Batter:

2 cups sugar
1 can pumpkin (about 2 cups)
1 cup melted butter (2 sticks) (not margarine)
4 eggs, beaten
2 1/4 cups all-purpose flour
1 tsp. salt
2 tsp. baking soda
2 tsp. baking powder
2 tsp. ground cinnamon
1/2 c. flaked coconut (optional)
1/2 c. chopped pecans (optional)

Combine sugar, pumpkin, butter, and eggs. Beat 1 minute at medium speed. Combine the next 5 ingredients. Add to pumpkin mixture and beat 1 minute. Stir in nuts and coconut, if desired. Pour batter into prepared pan. Bake at 350 degrees for 35-45 minutes, until done. Use toothpick test for doneness.

When done, cool right side up, for ten minutes. Loosen edges with knife and invert over heat-safe platter or jelly-roll pan. Allow cake pan to remain over cake for about 5 minutes, until caramel dribbles down sides of cake, then remove.

Serve slightly warm or completely cool.

What I love about this one is that you don’t have to serve it for Thanksgiving if you don’t want to. Just take it to a church dinner and STAND BACK!

Oh! Also check out the other Thanksgiving recipes on Home’s Cool! by clicking here and scrolling down to the bottom.

_____________

*Photo credit: Wikipedia.