
Some of the best canning I know of happens in the fall.
I love canning quick breads to use for fancy fun, such as those delicate get-togethers where our mothers used to wear white gloves and hats, where the napkins are real and the butter is whipped and the goodies are all made from scratch.
And the tea is hot, not iced, and there is no coffee.
I love to make pumpkin bread and can it for later use. It keeps for months on the shelf, in a jar, in a pantry, without preservatives. And it tastes great, even six months later.
What I LOVE, LOVE, LOVE about this bread is:
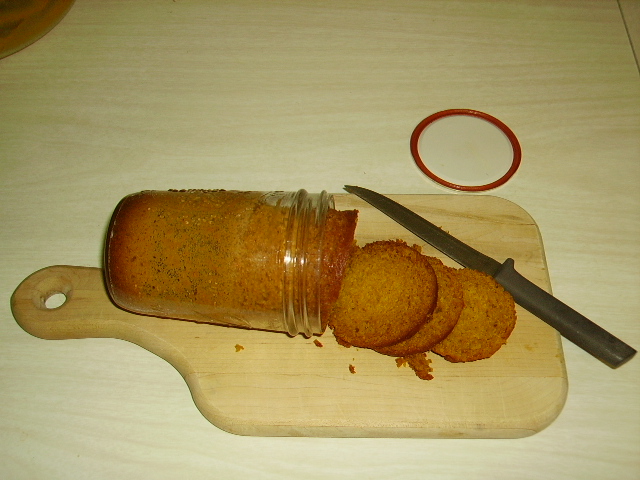
- The bread is round, and therefore somehow nicer for those la-dee-da gatherings or for when you just want to feel better about … things. 🙂
- The bread is over-the-top moist.
- The bread is super easy to slice thin and straight if you pull it out of the jar slightly and use the rim of the jar as a cutting guide.
- The bread makes an amazing and welcome gift.
The trick? Just follow these instructions and have fun.
You will need:
- A good recipe for pumpkin bread. (Mine follows.)
- All the ingredients for the recipe.
- Six or seven straight-sided, wide-mouth, one-pint canning jars.
- Flats and screw bands for the jars.
- A pan of hot water for the flats.
- Fork or magnetic flat lifter.
- Canning funnel.
- Sharp, non-serrated knife.
- A sturdy, shallow pan with a rim, such as a pizza pan or jelly roll pan.
- One damp cloth.
- One totally dry, thick towel.
- Plenty of pot-holders or oven mitts.
- An oven.
You will NOT need:
- Nuts
- Raisins
- Any other such lumpy things in the recipe, no matter how much you may love them in your bread, if you want it to keep a long time. If you want it for tomorrow, lumps are fine.
Instructions:
1, Collect your stuff. Set oven for 350 degrees.

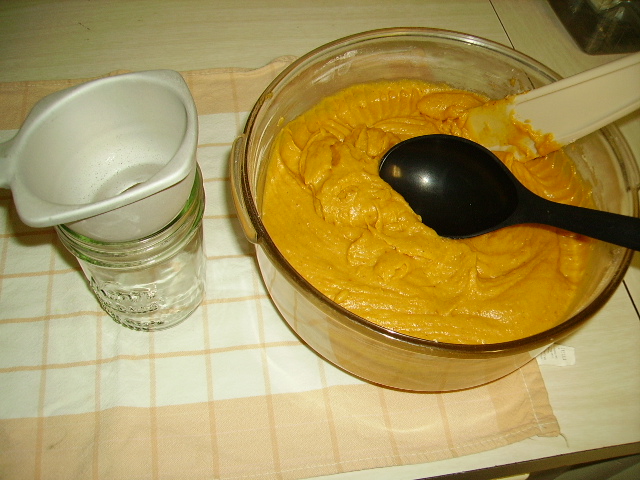
2. Make the batter. (Recipe follows instructions.)
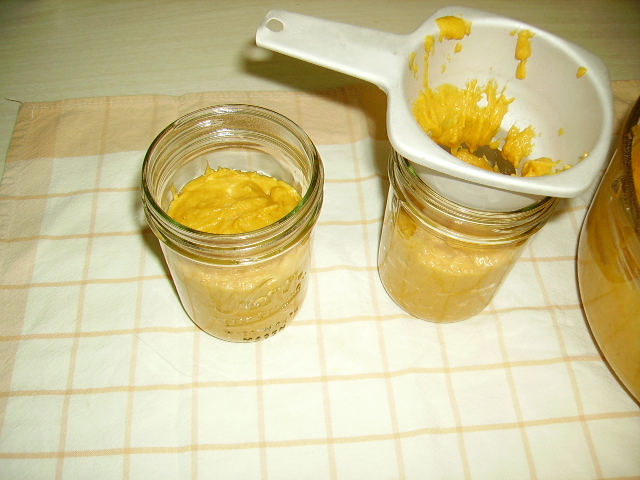
3. Load the jars about half full, or a bit more.
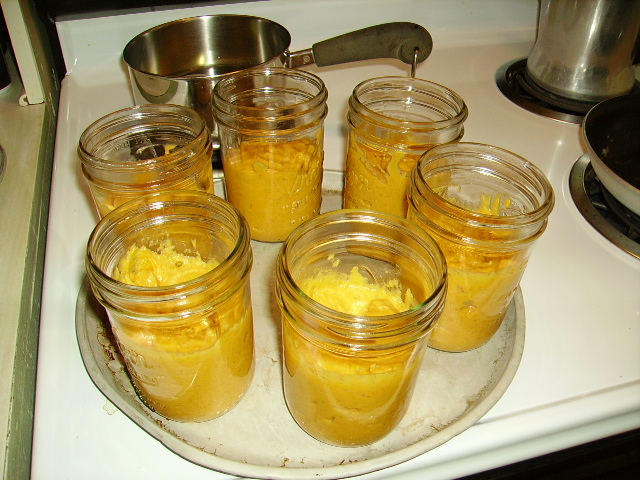
4. Place loaded jars on sturdy pan and very carefully set in oven for about 15 minutes or until done. Use toothpick test for doneness.
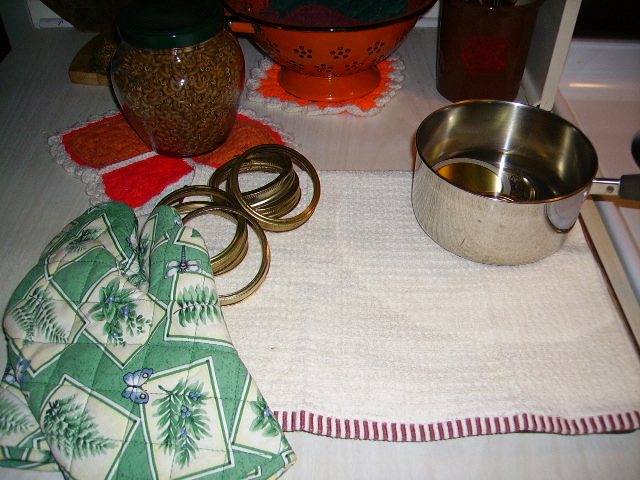
5. While bread bakes, prepare lids: Boil water and place lids in it, then remove from heat. Do not boil water with lids in the water. Have screw bands, mitts, and both towels ready.
6. Remove one jar from oven, individually, and set on dry towel. Quickly trim bread that has risen beyond top of jar with sharp knife. Quickly wipe rim free of crumbs and grease with damp towel and add lid and screw band.


7. Repeat with each jar, individually. Jars should seal almost immediately.
THE END.
THE RECIPE:
Sift together into large bowl:
3 1/3 cups plain flour
2 tsp. baking soda
1 1/2 tsp. salt
1 tsp. cinnamon
1 tsp. nutmeg
3 cups sugar
Quickly add, and stir in only until dry ingredients are moistened:
4 eggs
1 1/2 cups canned pumpkin
1 cup melted butter
2/3 cup water
Proceed with instructions above to can pumpkin bread.
IMPORTANT!: Do not add nuts or raisins or any other chunks, if you want this bread to keep a long time. Chunks will not become hot enough to be sterile, in this situation. If you want to use these immediately, chunks are fine!
We are going to love fall this year!
(This post listed on “My Hot Kitchen” . Lots there to drool over…)
_______________________________________________
Katharine is a retired home educating mom who writes about all things “woman”, from a Godly viewpoint, here on this site, and at The Conquering Mom. Her writing appeared in several magazines for 15 years, and she is currently working on several books. She loves to write, speak, teach, cook, garden, spoil her hennies, and watch old movies with popcorn.

